
Do you want to search in all categories or in this category ?
Info 1: To enable BunnyCDN in Managed-WP PRO, BunnyCDN Wordpress plugin is not needed.
Info 2: Disable "Proxied" in Cloudflare (if applicable) for your CNAME xxxx.b-cdn.net .
All configuration is in LiteSpeed Cache Wordpress plugin.
Please follow the steps below:
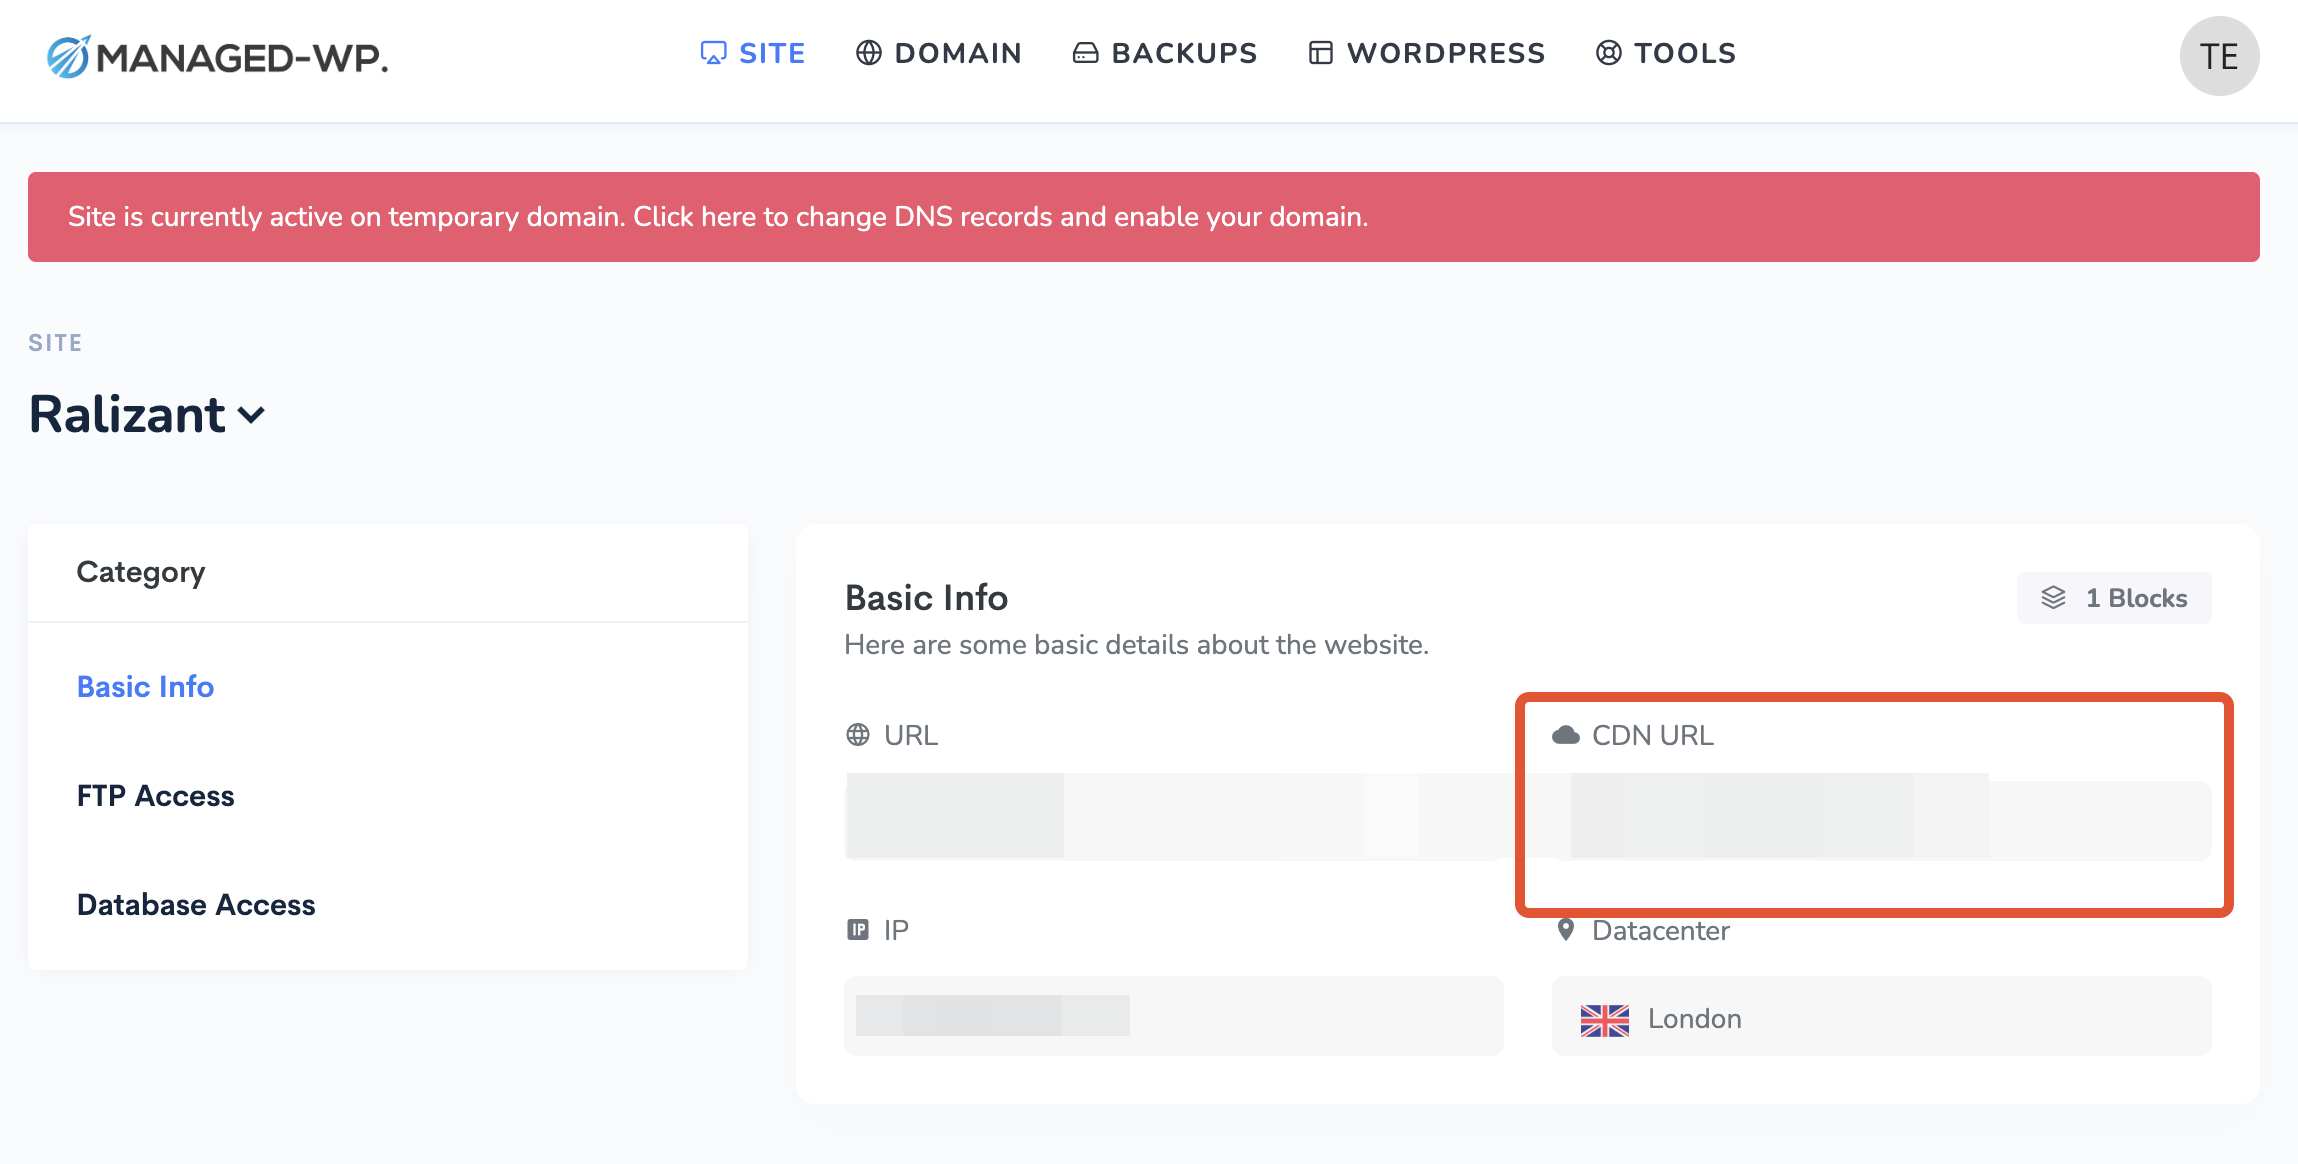
After the new WordPress site installed, visit Managed-WP.™ | Login again and copy CDN URL.
Now from the WordPress dashboard, go to LiteSpeed Cache > CDN > CDN Settings. Enter BunnyCDN URL(from step 1) in LiteSpeed Cache plugin, and turn CDN mapping "ON"


Premium Managed Wordpress hosting